
OnceClip has quite a few options when you first open it, but you only need a few of them to get started.
Find two images and think of one sentence you want your video to say. Follow the steps below and you can usually submit your first video in a few minutes.
For your first video, leave the advanced settings alone. Add your images and narration, choose the video orientation, and you're ready to generate it.
Take a quick look at the workspace
Add images and music on the left, and enter your narration on the right. Below that, choose the video orientation and subtitles, then click "Generate video".
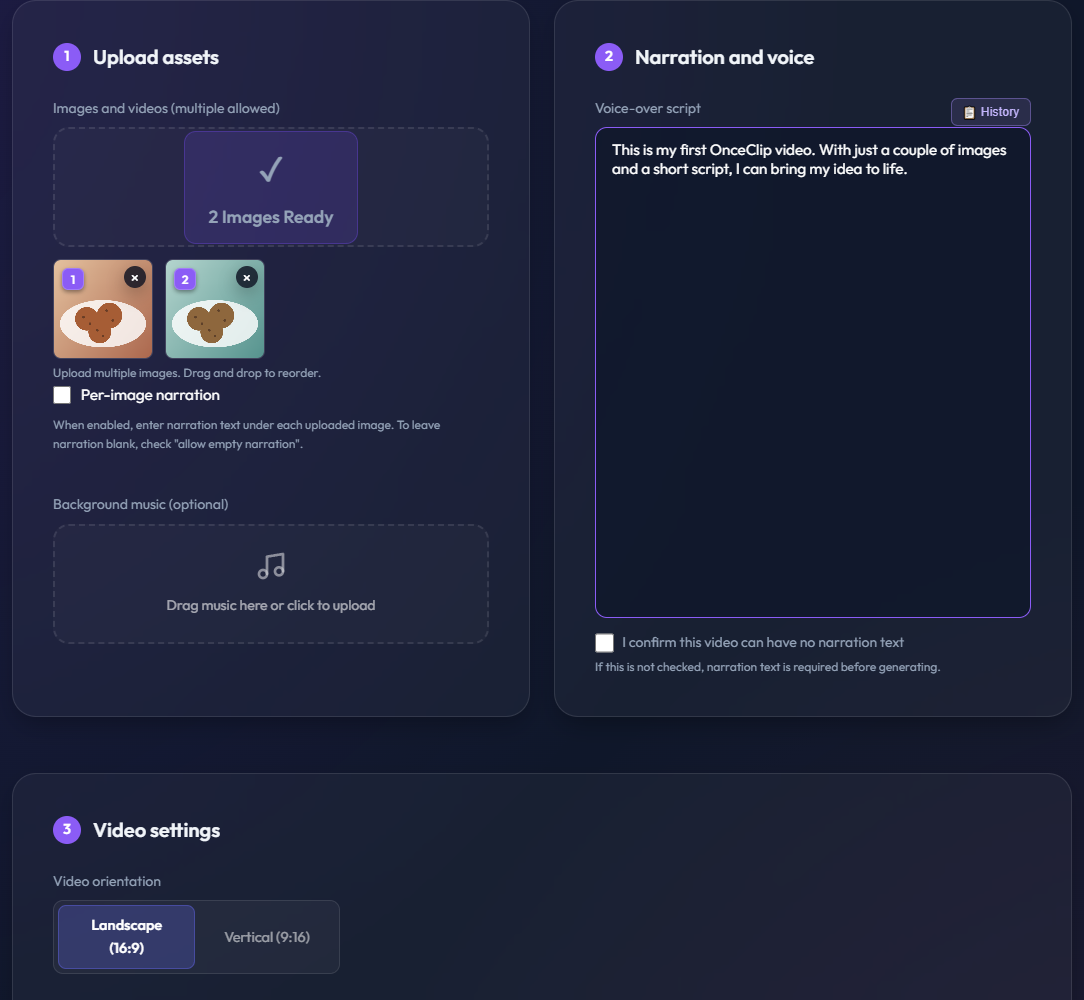
If you just want to try it once, you can keep the default settings used in this guide.
1. Upload two images
Find the image upload area under "Upload assets". Drag your images into the box, or click it to choose files from your computer.
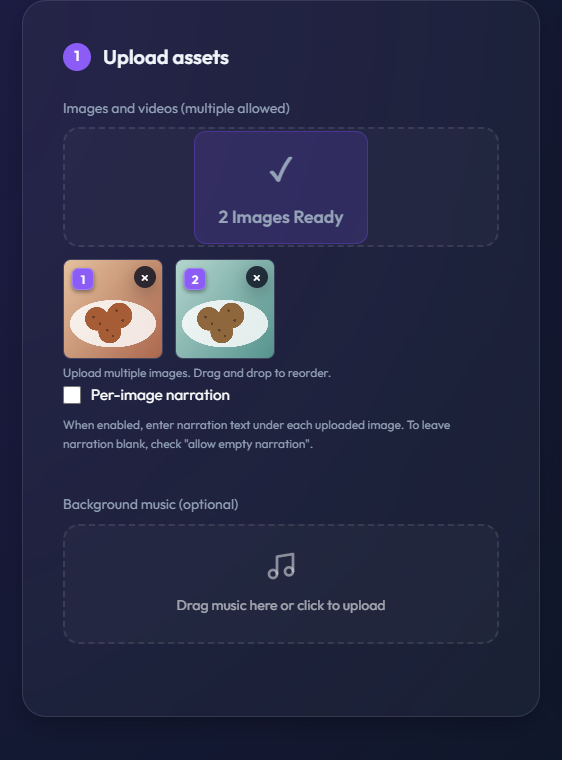
Once the images appear, drag their thumbnails to change the order. A useful sequence is:
- Start with the product or subject you most want people to see
- Show a detail, feature, or example of it in use
- End with your brand, price, or contact information
You can make a video with just one image. For your first try, two or three images make it easier to see how the scenes change.
What if I want background music?
There is a "Background music (optional)" area below the image upload. Click it and choose an audio file from your computer.
Music is optional. If you only want to see how the video turns out, you can skip it for now.
2. Write what the video should say
In "Voice-over script", type what you want the video to say. It does not have to sound formal. Write as if you were introducing your product to someone.
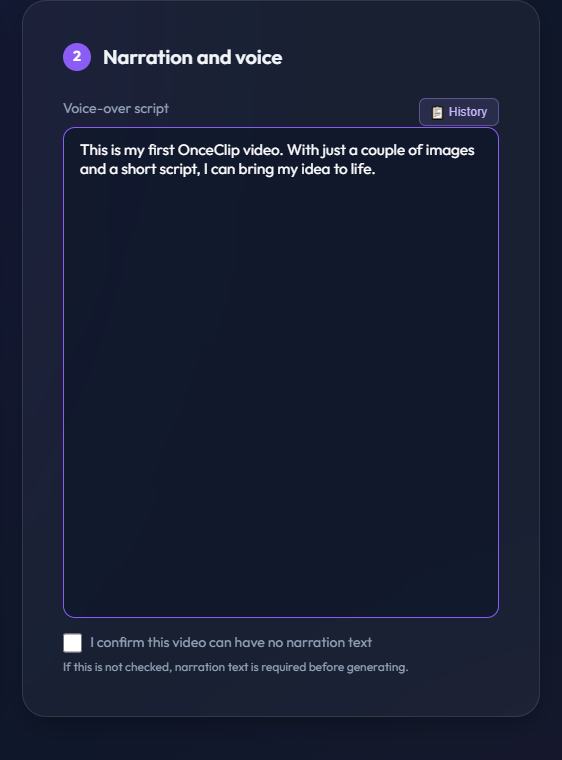
For example:
These handmade cookies came fresh out of the oven today. They're crisp without being too sweet, and perfect with an afternoon coffee.
Short sentences usually sound more natural. For your first video, a sentence or two is enough; you do not need a long script.
Can I make a video without narration?
Yes. Check "I confirm this video can have no narration text" below the script box.
If the box is empty and you have not checked this option, OnceClip will ask you to add text so you do not accidentally make a video without narration.
Can each image say something different?
Under the images on the left, turn on "Per-image narration". A separate narration field will appear under each image.
This works well when you want to introduce features one by one. If you just want to finish your first video quickly, use the single script box on the right.
3. Choose landscape or vertical
Next, choose the video orientation.
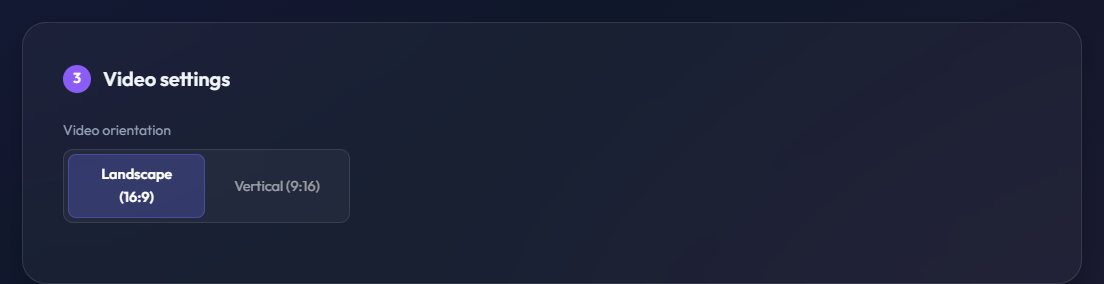
- Instagram Reels, TikTok, or YouTube Shorts: choose Vertical (9:16)
- YouTube, websites, presentations, or computer playback: choose Landscape (16:9)
The video will still generate if you choose the wrong orientation, but you may get empty space or a cropped image. Checking where you plan to post it can save you a second attempt.
4. Decide whether to add subtitles
If you plan to post your video on social media, subtitles are a good idea. Many people watch without sound, and subtitles help them follow along.
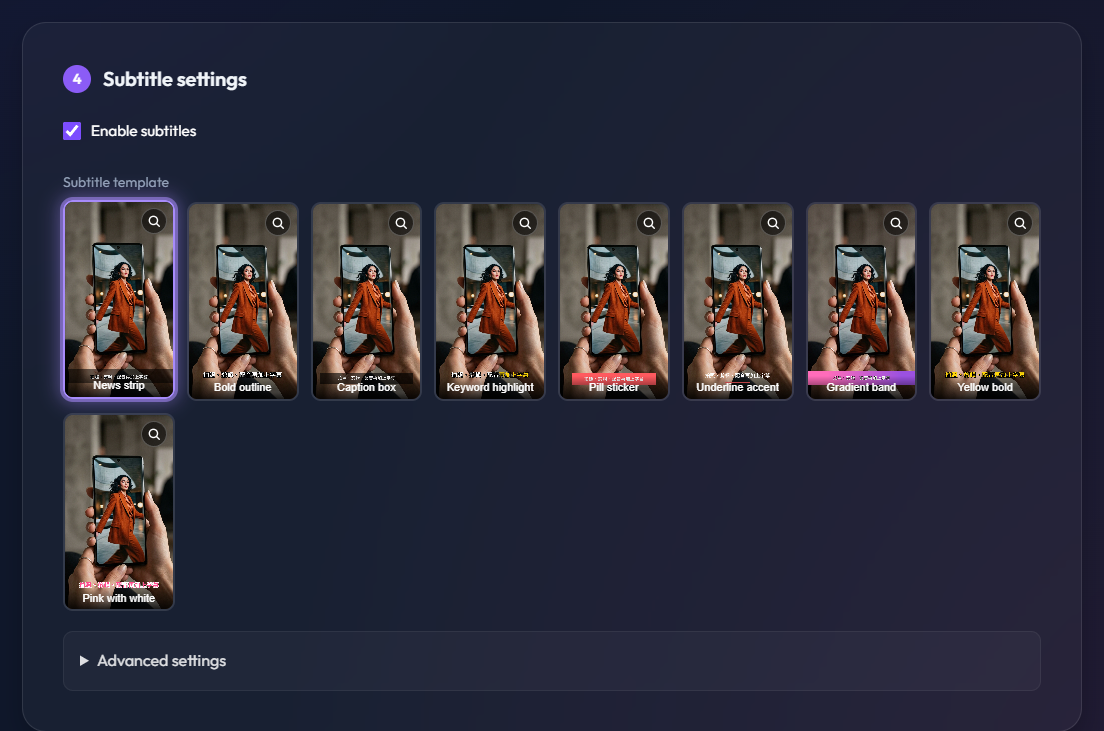
Check "Enable subtitles", then choose a style you like. For your first video, the default style is enough; you can leave the advanced settings closed.
For a music-only showcase, you can leave subtitles off.
5. Click "Generate video"
Before submitting, quickly check three things:
- Are the images in the right order?
- Is there a typo in the narration?
- Did you choose landscape or vertical correctly?
If everything looks right, click "Generate video".

You do not have to stay on this page while the video is processing. You can do something else; when it is done, a red number will appear on the bell icon in the top right.
6. Find your finished video in notifications or Video History
When the video is ready, you can find it in either place:
- Click the bell icon in the top right, then open the completion notification
- Open "Video History" from your account menu
You can preview or download the video from Video History. Watch it through once to check the narration, subtitles, and image order.
If something is not quite right, you do not need to redo everything. Return to the home page and change one thing before generating again. For example, adjust the narration or reorder the images. This makes it easier to see what helped.
Common questions for first-time users
Do my images need to be cropped to the same size?
No. OnceClip arranges them according to the landscape or vertical orientation you choose. Just keep the main subject clear and away from the very edge of the image.
Do I have to upload background music?
No. Background music is optional. You can generate a video without it.
Can I close the page after clicking Generate?
Yes. Your video will keep processing. The next time you sign in, you can find it through notifications or Video History.
Why is my video still in the queue?
If other videos are being generated ahead of yours, your job will show as queued. It will start automatically when its turn comes. You do not need to click the button again.
Make your first video now
Pick two images and write one simple sentence about them. You do not need to fine-tune every option yet. Finish one video first, then you will know what you want to change in the next one.
Put what you just learned into practice